It took three days for four of us to get this kitchen done this weekend and we still have plumbing and the odd other little item to finish like the door on the cabinet by the stove but we did get the kitchen counter tops installed and a new maple floor put down.
The kitchen will be replaced eventually so we went with white formica for the counters but they look fantastic. An absolute bitch to install mind you but they do look good.
Also bought a new sink and at least installed it into the countertop ... plumbing will have to wait.

We decided to have an island in our kitchen and bought a JennAir for the one end ... it works great but was incredibly difficult to get in place from day one, first it vents down ... that is fine but I do NOT have a crawl space under this part of the house except about a foot so we needed to fish a large pipe to the outside and the wire and finally had to enclose it ... so I built this cabinet out of maple. It is sitting in my workshop in this picture. You will see from the one below that I built a cabinet to the right to store some pots and pans. The stove slides into the left part once the counter top is installed.


This picture and the one below is the door that goes on the island cabinet .. not yet installed ... here it is under construction.


Picture is blurry but Ken Roberts taught me how to build a corner ... a solid piece of maple runs up and down ... we datoed in on each side and cut the three quarter maple ply back so that it fits flush ... very strong and looks great.


Two summers ago we put in a composite maple floor .. essentially it is pressed cardboard with a plastic top ... looked like crap and I hated it from day one ... also wasn't holding up very well, showed the dirt and was hard to clean. The picture above is the composite .. the picture makes it look better than it was and the picture below is the same floor from a wider angle ... So even though this room may be redone in a few years we decided it was time to put in a proper maple floor ... three quarter inch thick, 3 and half inch wide select maple which is very light.


This picture shows the colour difference between the two floors and the one below shows the difficulty of trying to do anything in a stone house with the cutting of everything to fit the contour of the stone. The first half dozen pieces took about three hours to put down with all the cutting ... the rest was a lot faster.


In the next few pictures you can begin to see the depth of colour and the texture in the new floor ... nothing like REAL wood to bring out the best in a floor. Will never use a composite floor again.


Put in a 12 foot long counter top across the back of the kitchen ... starts at the fridge on the right and goes all the way over to the end wall. Also moved the cabinet in place for the island ... stove is not yet installed and just beginning to install a receptacle on the back so that we don't have electrical cords with extensions coming across the aisles.

The hole for the sink is not cut yet .. it is going to the left centred in the window. That is Tom and Daniel who are helping.


My darling sister Bun who talked Tom into coming up to help this weekend ... they had planned to get away by 2:00 on Sunday ... didn't leave until close to 8 o'clock at night ... the help and the company was much appreciated by myself .... it is hard to work alone not just because you seem to always need an extra set of hands or someone to help you lift but more importantly you need someone to talk to ... you get lonely.

The stove fit into the cabinet we built.

Dishwasher finally installed properly ... the black thing under the counter is the water system .. we are on a well and we had a system installed last year so that we didn't have to worry about problems with water.

Notice the electrical outlet on the back of the cabinet ... a split receptacle at that!!! And now we've added the rest of the cabinet that the countertop is going to sit on.


The countertop installed with the stove included. Notice we extended the counter out about a foot so that we have a place to do casual meals. Will get some tall stools to sit on ... actually we have three already but to fit with the maple theme I think I'm going to try to build some others and get rid of the black ones.

Bun sitting at the counter.


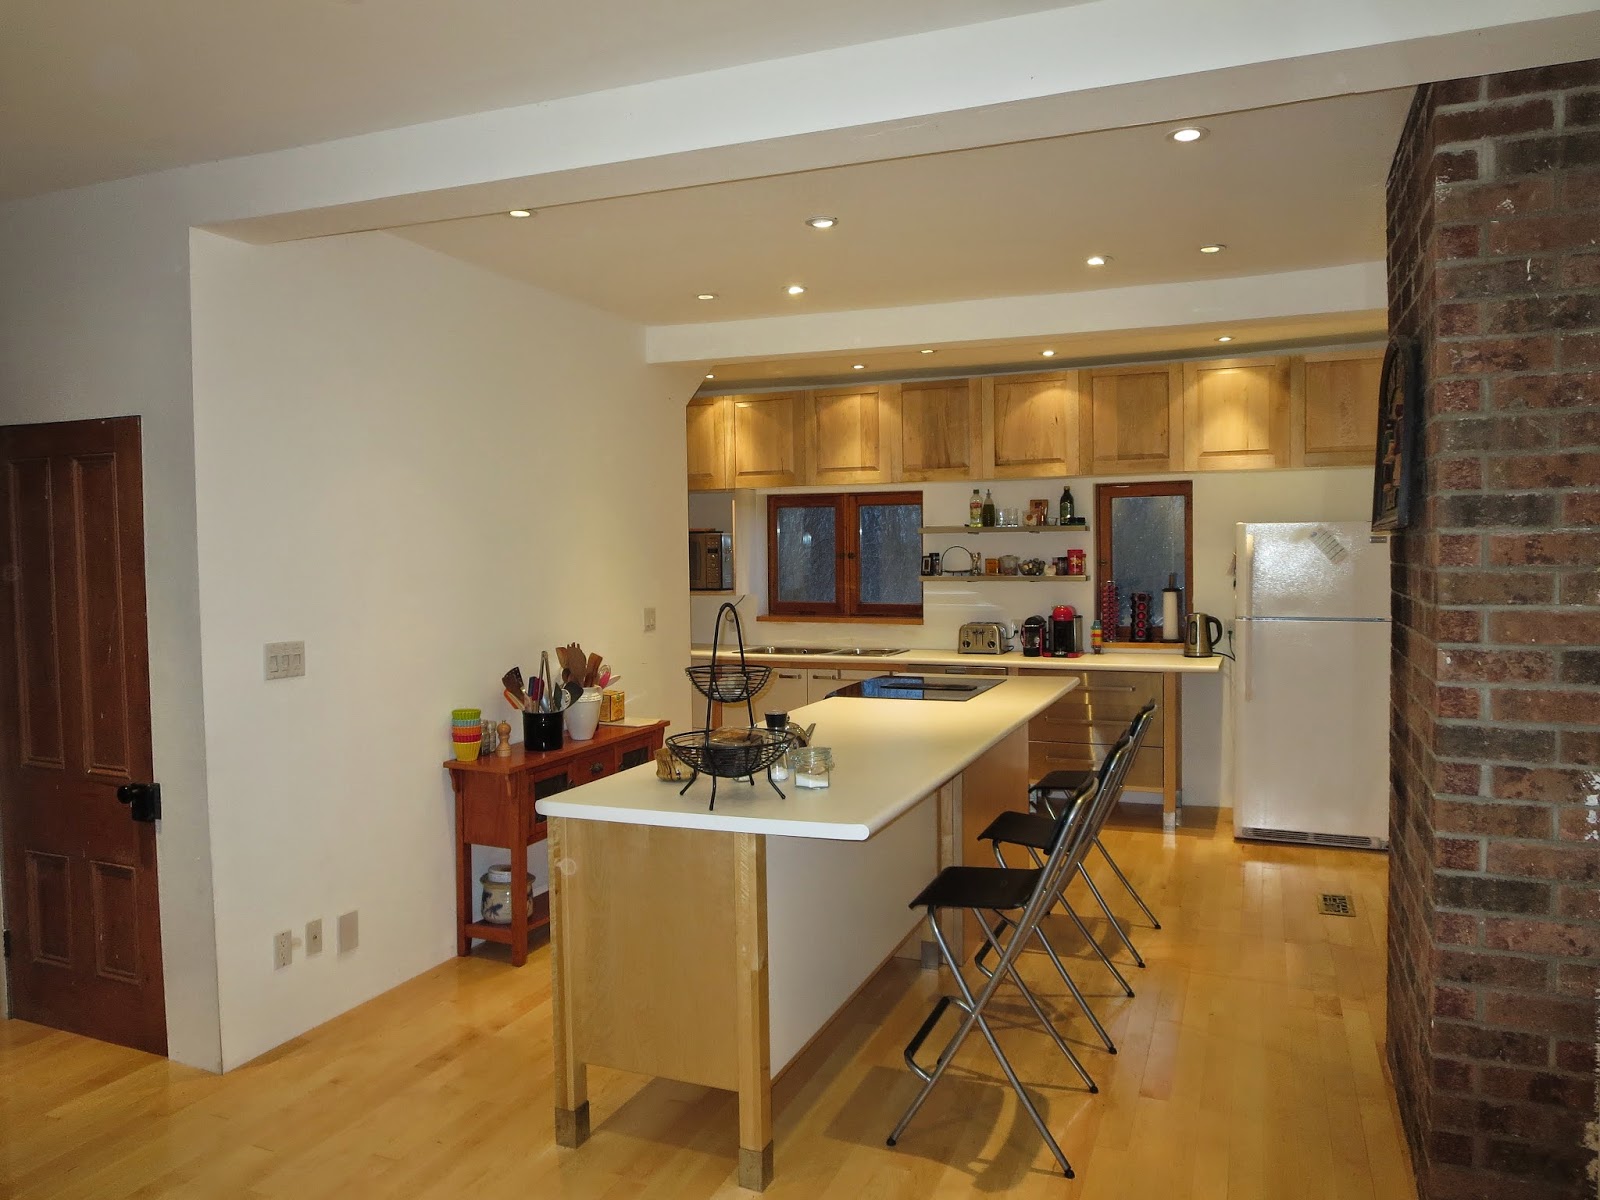
The finished look from the back.

The finished look from the front ... note the upper cabinets in the background ... built those last month ... still need to install the door on the island cabinet.


A couple pictures of the floor.

Our new sink ... very large and very deep on the left for washing big things .. regular depth and size on the right. We choose this type since we do a LOT of canning and need a spot to put very big pots. Still need to install the taps which go on the counter ... also plan on replacing the pine window ledges with maple.


Now we have twelve feet of counter to put things on ... also ran four sets of split receptacles across the back so lots of places to plug things in. This picks shows a set of four outlets .. there are another two on the right out of the picture and two on the left out of the picture ... and finally another two on the island. Never enough outlets and with my electrical background we will not go short.


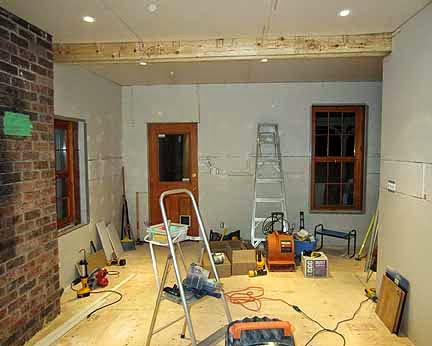
The original Kitchen just so that people can appreciate the changes that we've made ...I took this picture on the my first visit to the stone house to meet the owner.
There is a bit of a difference from this pic and the one I post above. Following are some more pics of where we started and how we got to where we did. And I'm very proud to say that we did most of the work ourselves ... lots of help mind you from friends and relatives and I thank every one profusely.
Dennis


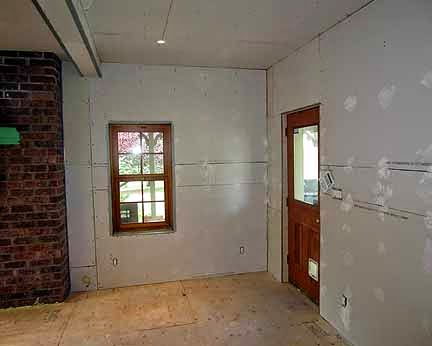
And the following pictures are from the summer of 2011 and document what it takes to turn a crappy kitchen into something presentable .... we've come a long way ...


No comments:
Post a Comment